Range Indicators
| Author: Kenoli (stardepot.org) | Tags: beginner data actors range | |
| Source: http://www.stardepot.org/ | Added 15 years ago |
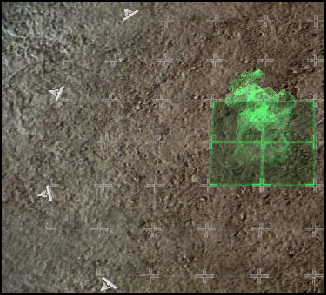
Unit Placement
The range indicators seen during building placement (IE Missile Turret, Spine Crawler) are Range Weapon actors, which are created by a Placement Model actor, and are based on model name.
Modify or add to the events of the existing Placement Model actor to apply range indicators to different placement models.
Create additional Range Weapon actors to display different weapon ranges.
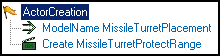
Selection
The weapon radius indicators shown on selected units, such as the Siege Tank and Point Defense Drone, are CActor Range actors. These actors can be duplicated and applied to other types of units.
Drone range; not very far
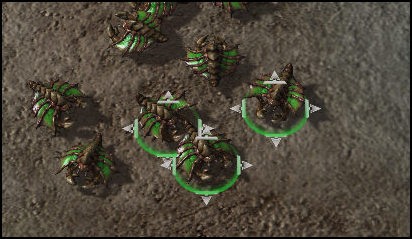
O noes!
You may find that the Source Name dropdown menu doesn't offer you any options.
To add a unit name anyway, turn on View Raw Data (Ctrl+D) and enter text directly into the field.

Example Events text for Drone range:
ActorOrphan|SelectionLocalUpdate.Drone.Start|SelectionLocalUpdate.Drone.StartEditorGround|SelectionLocalUpdate.Drone.StartEditorFlyer|
SelectionLocalUpdate.Drone.Stop|UnitDeath):(|||||):(Destroy|Create|Create|Create|Destroy|Destroy)
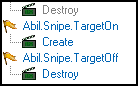
Ability Range
Ability range indicators are Range Abil actors. These are the simplest range actors to create.
Always On
Sensor Tower range is always displayed to all players regardless of selection. As with selection range, this is a CActor Range actor, but it uses different events. The rings shown on the minimap are enabled by the Range Flag Minimap flag.
Visible Only in Editor
The Xel'Naga tower uses a Range Sight actor. This range indicator only displayed in the editor (when Show Range (Shift+O) is enabled).